B. Configuration - Garage admin user
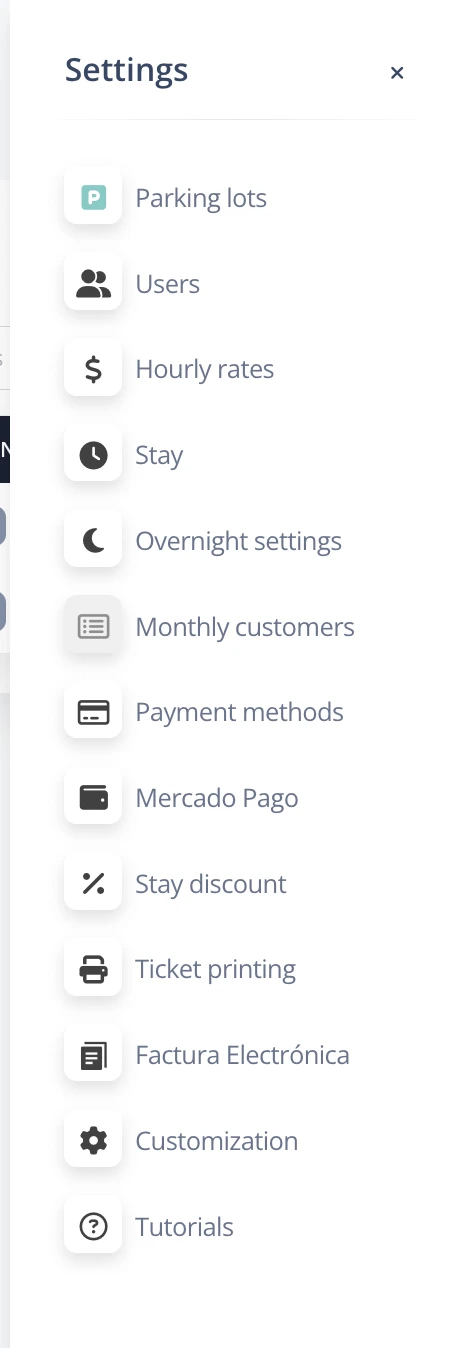
The main user, called the Garage administrator, has access to system settings from the settings icon on the right side of the screen, both at the top and bottom.
B.1. Garages
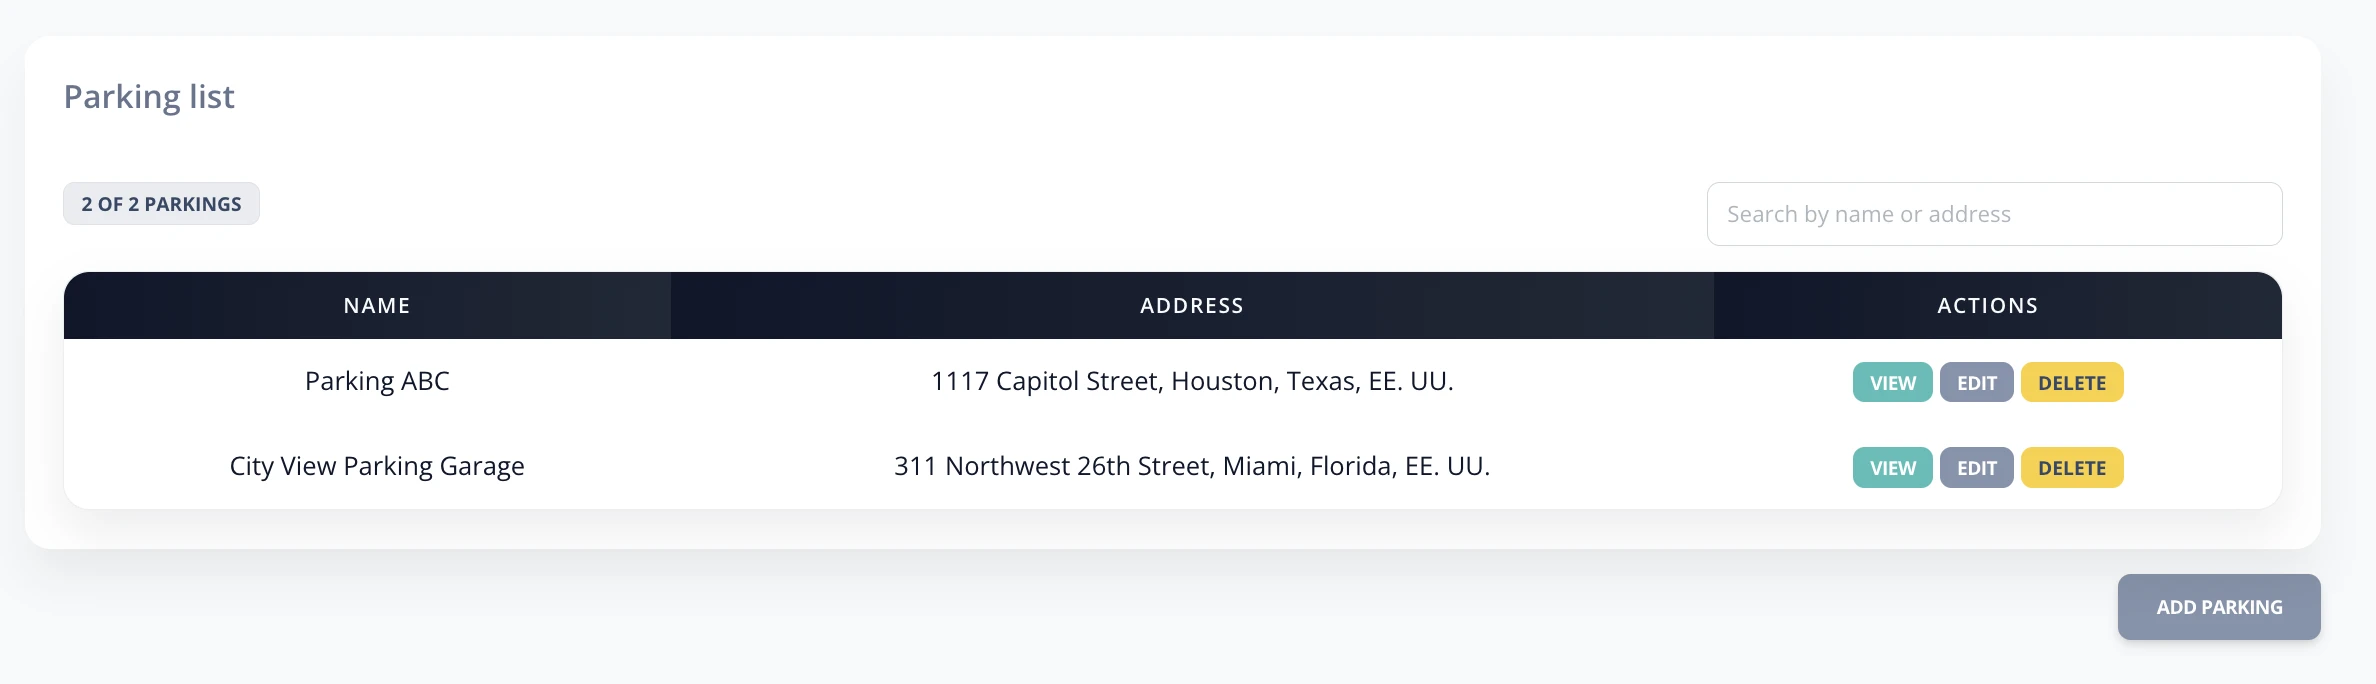
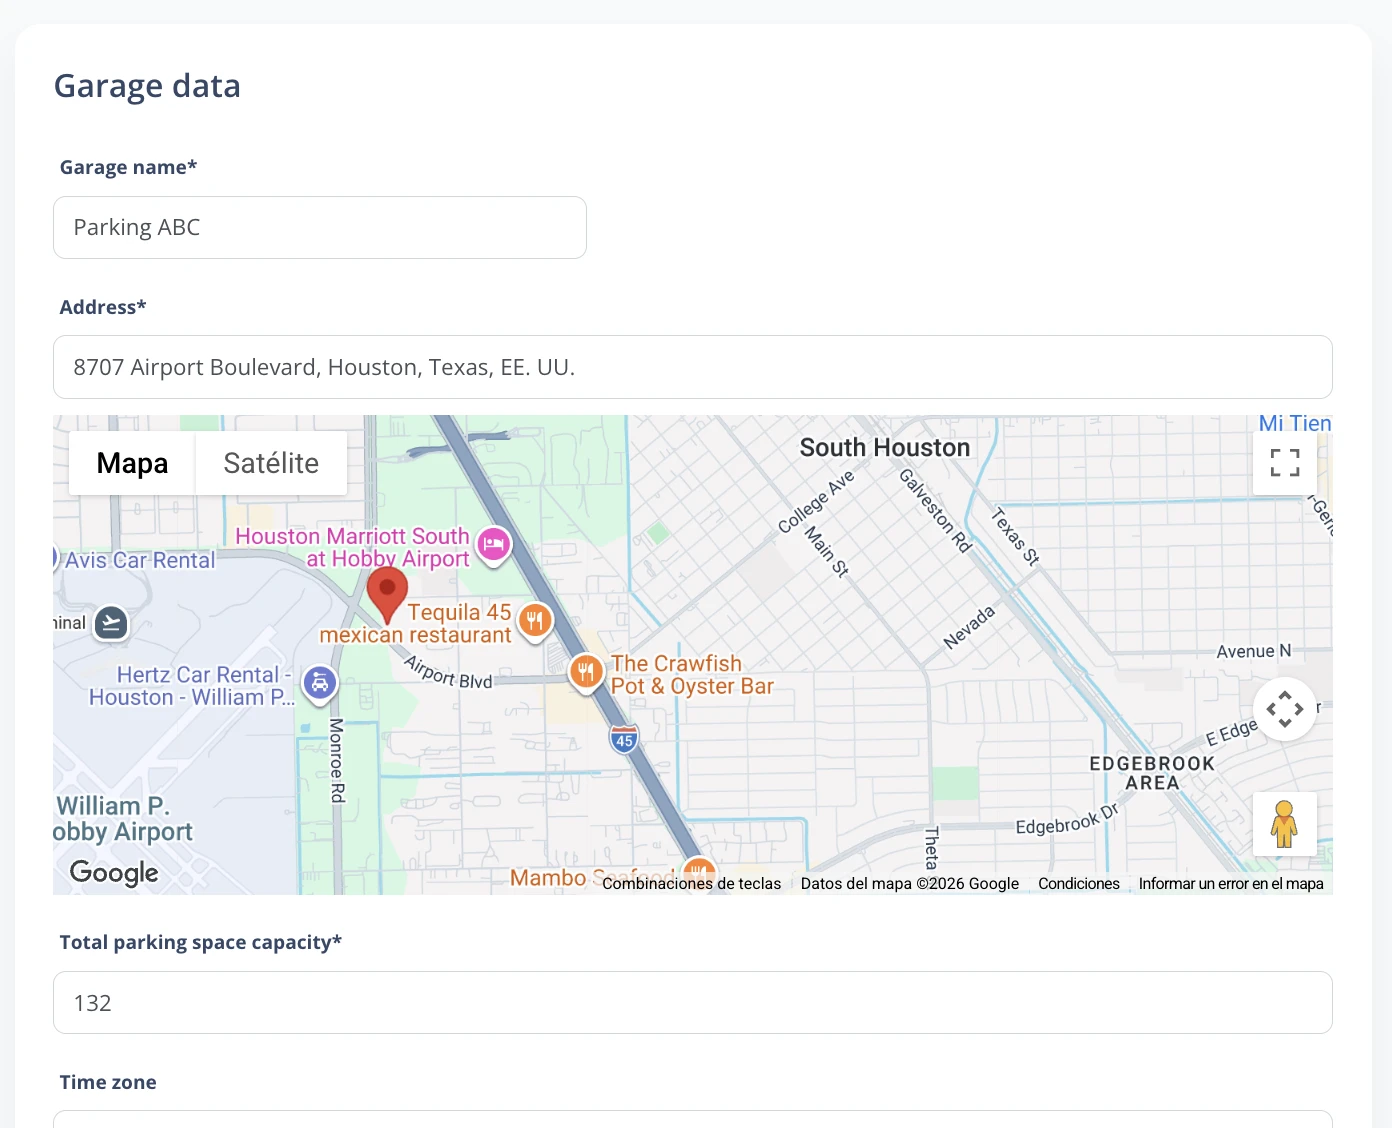
In the Garagessection, the administrator can:
- Edit the garage created during the initial setup.
- Add new garages following the same steps as in the initial setup:
- Enter the garage name and address using Google Maps.
- Optionally, add a phone number and enable WhatsApp.
- Delete garages.
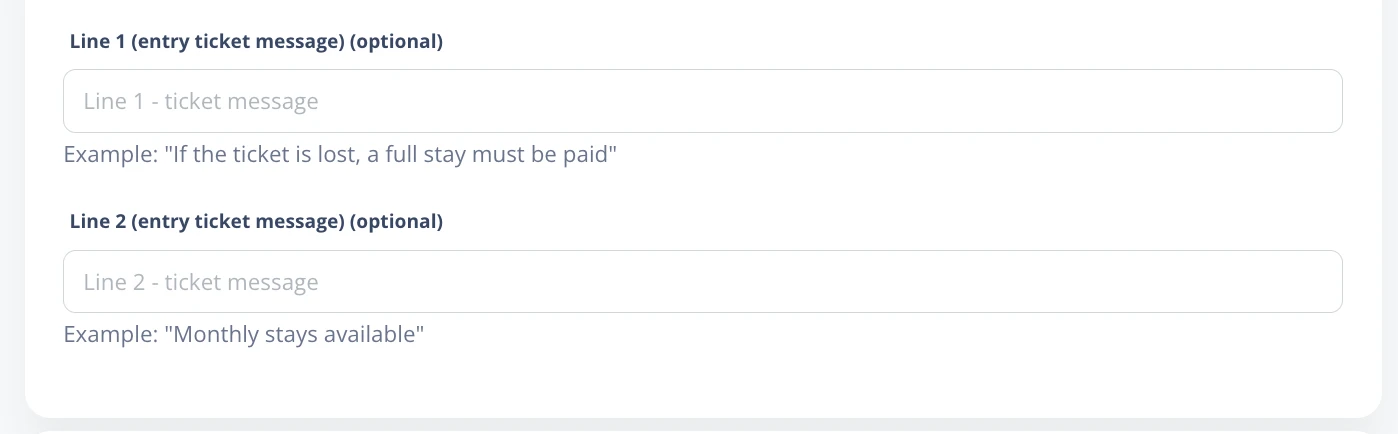
Additional options for entry tickets
You can add two custom message lines to tickets:
- Line 1 and Line 2: For example, "If the ticket is lost, the full stay must be paid" and "Monthly parking available".
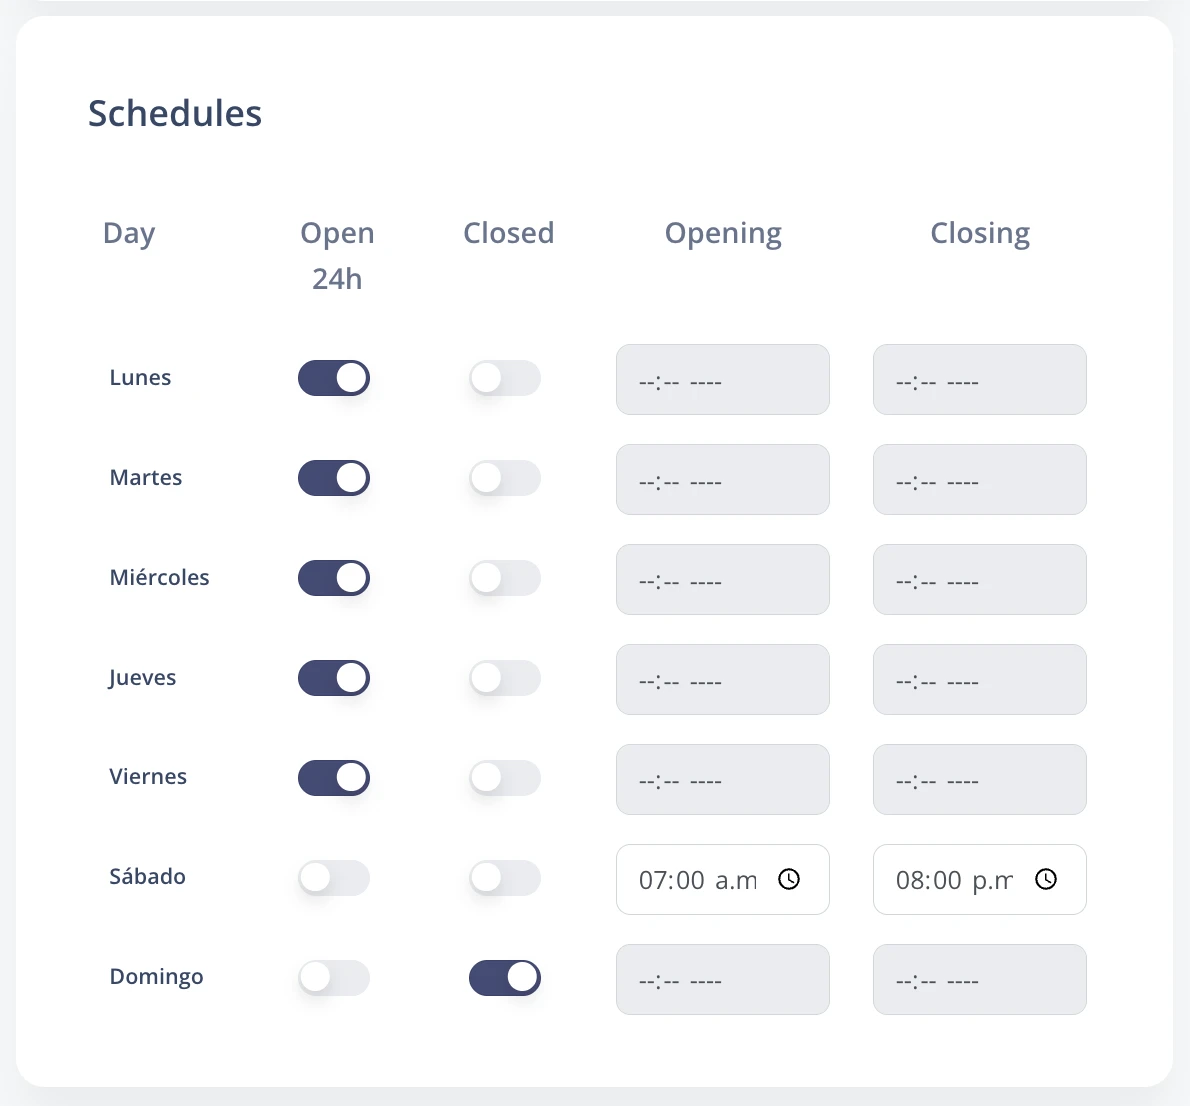
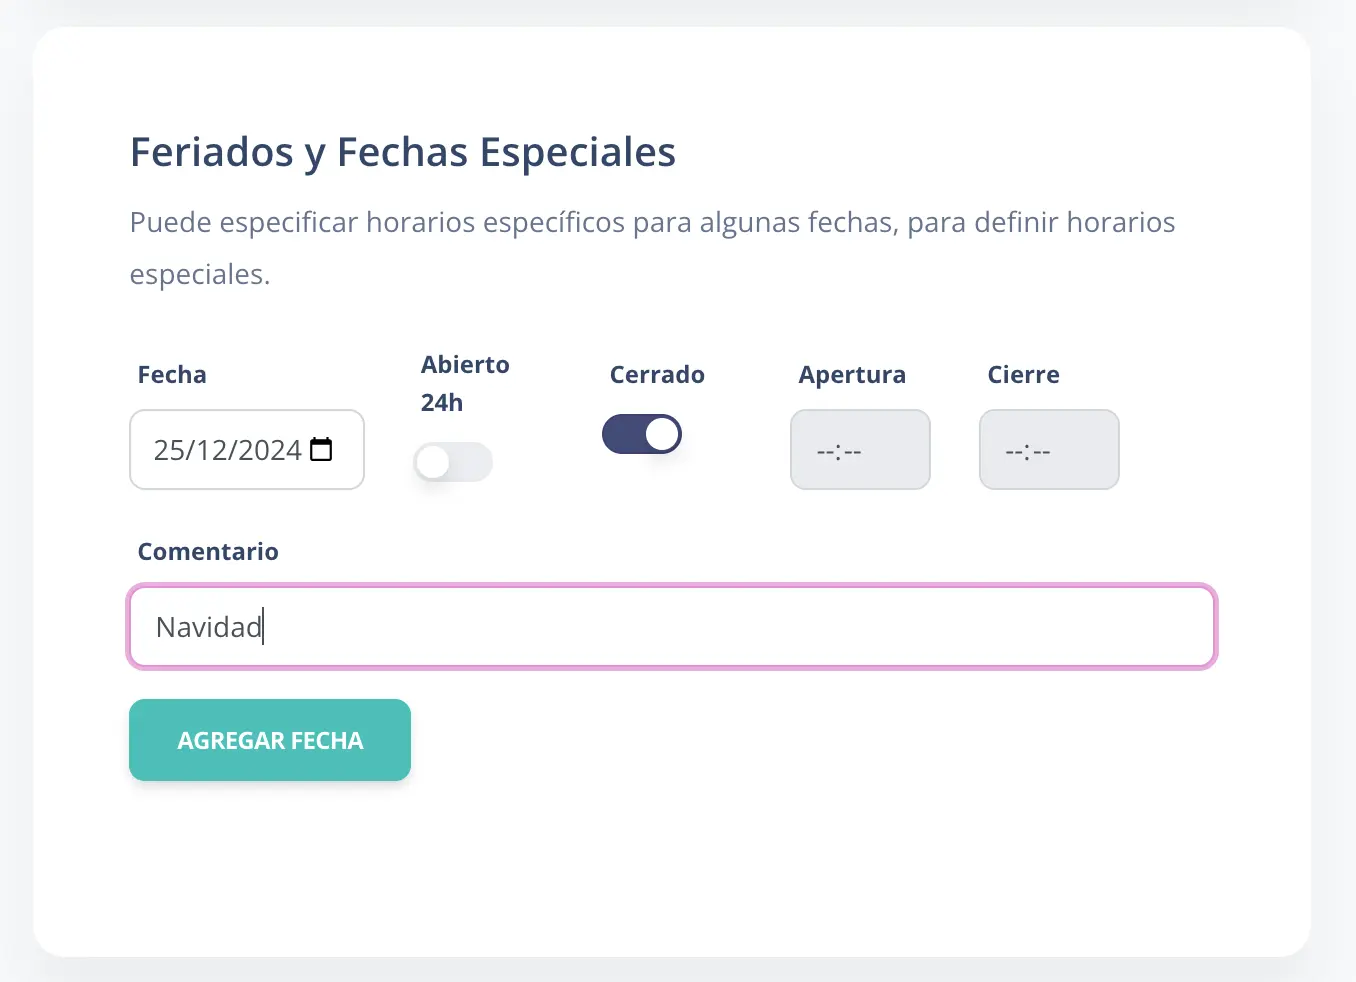
Operating hours
- Opening and closing hours: Defines the usual parking hours, including the option to remain open 24 hours or closed.
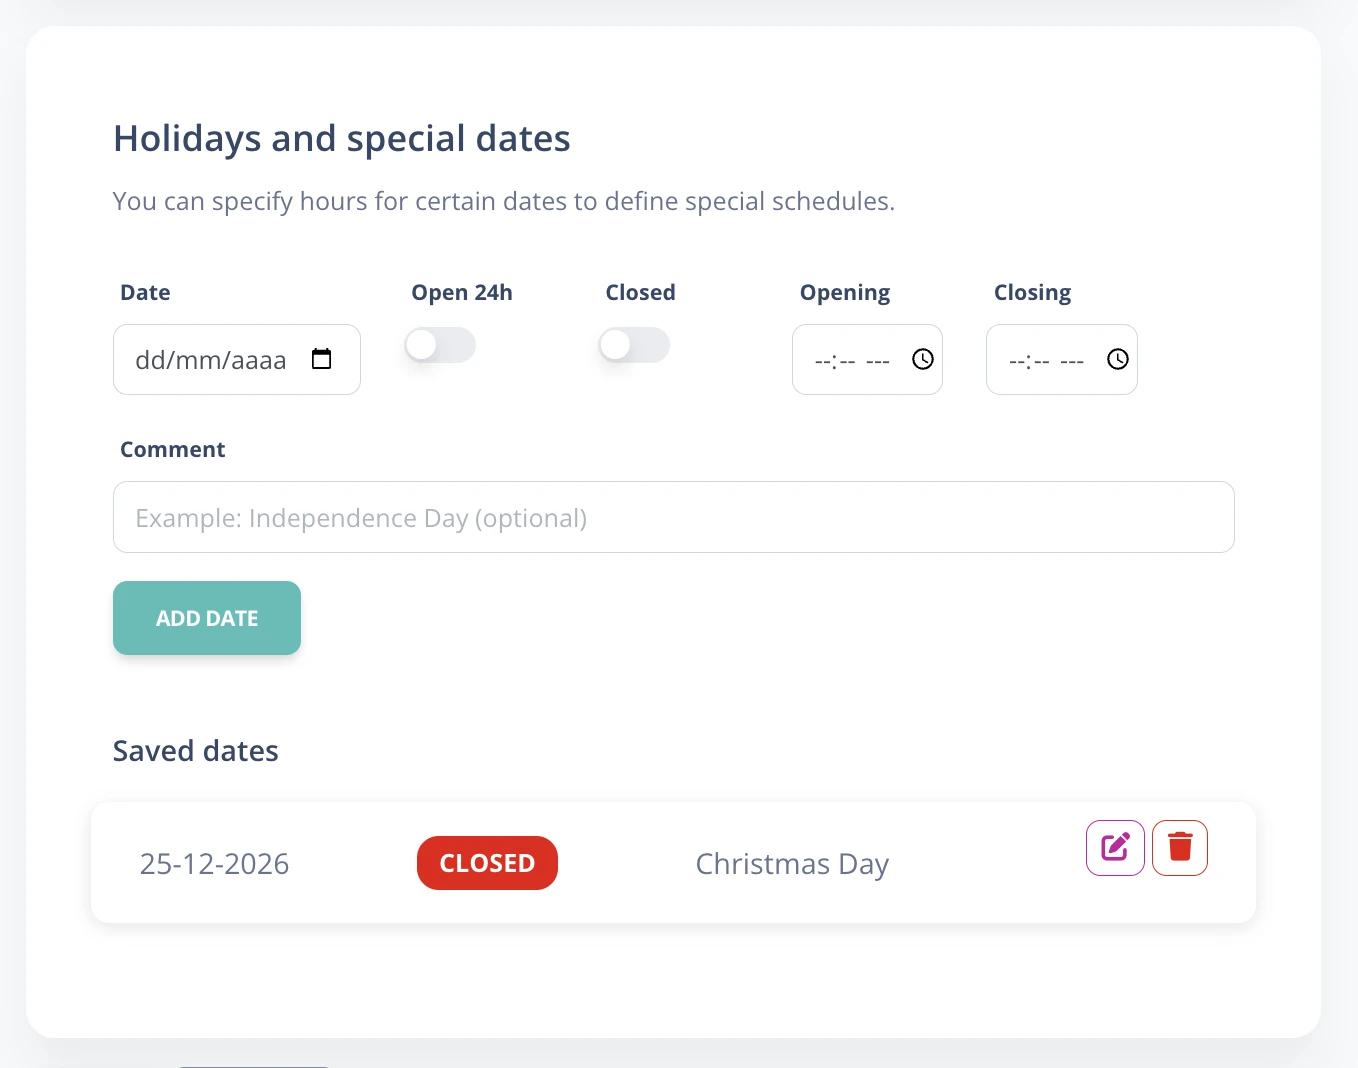
- Holidays and special dates: Adds special dates to define different opening/closing hours. This will be reflected on entry tickets.
B.2. Hourly rates
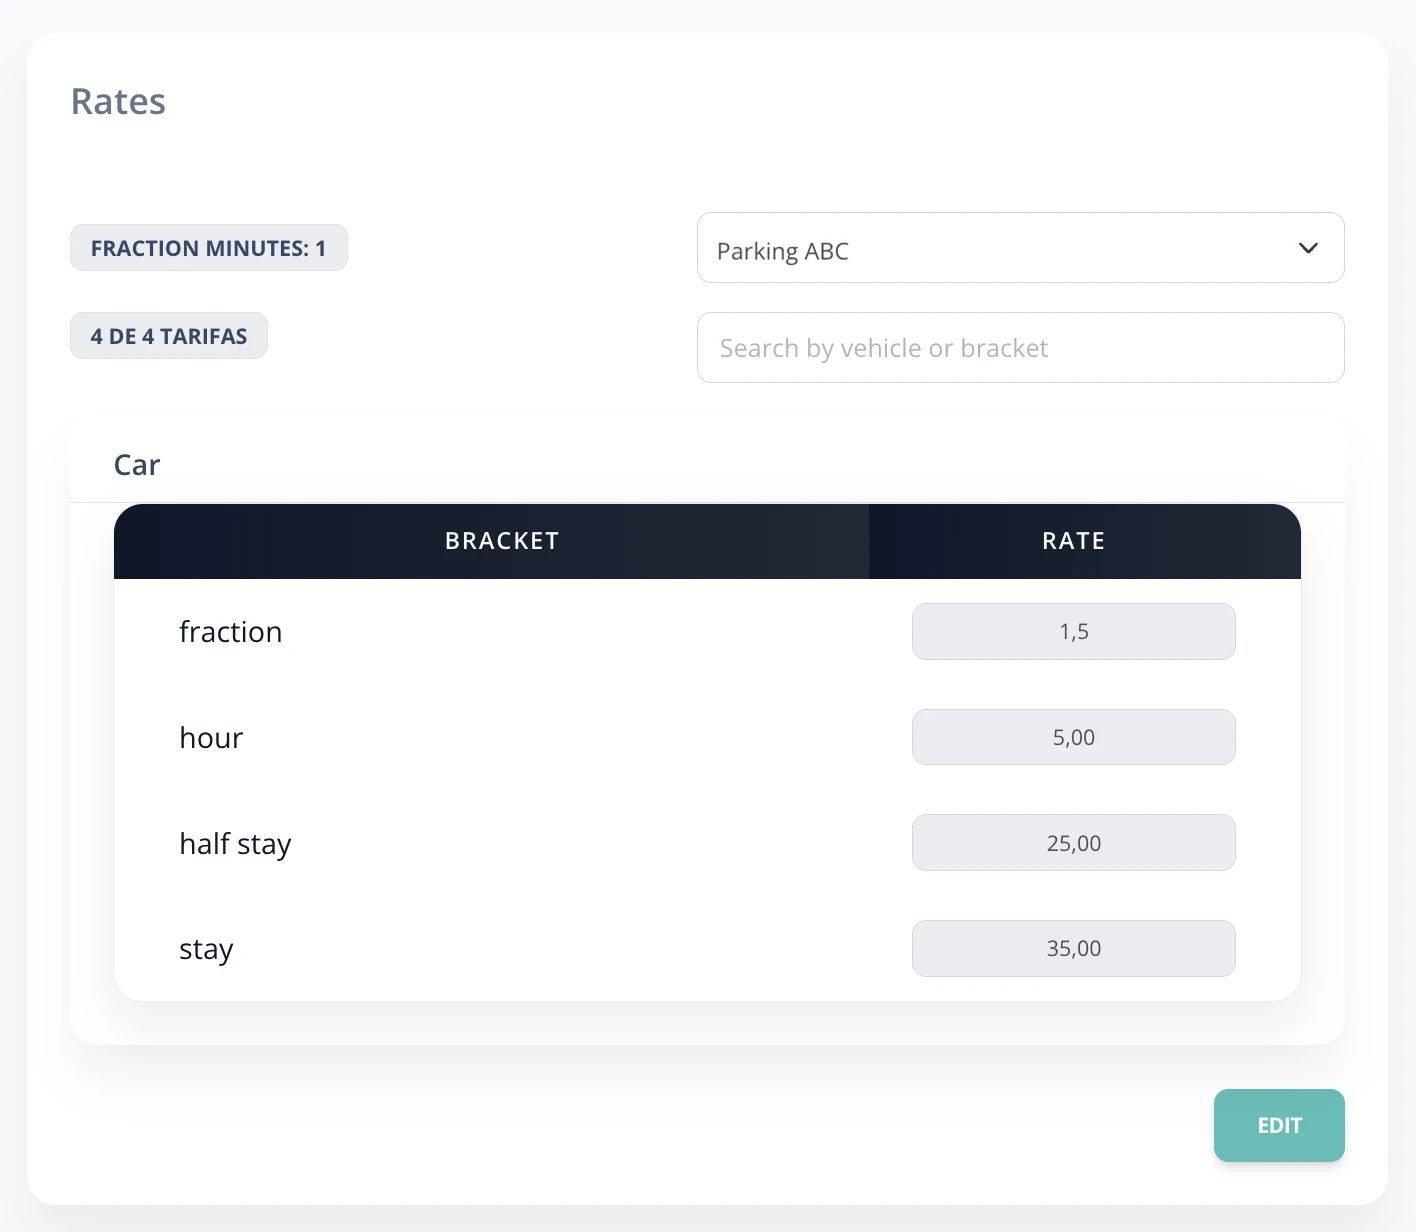
Edit rates by time band and enabled vehicle type (cars, motorcycles, etc.).
B.3. Stay
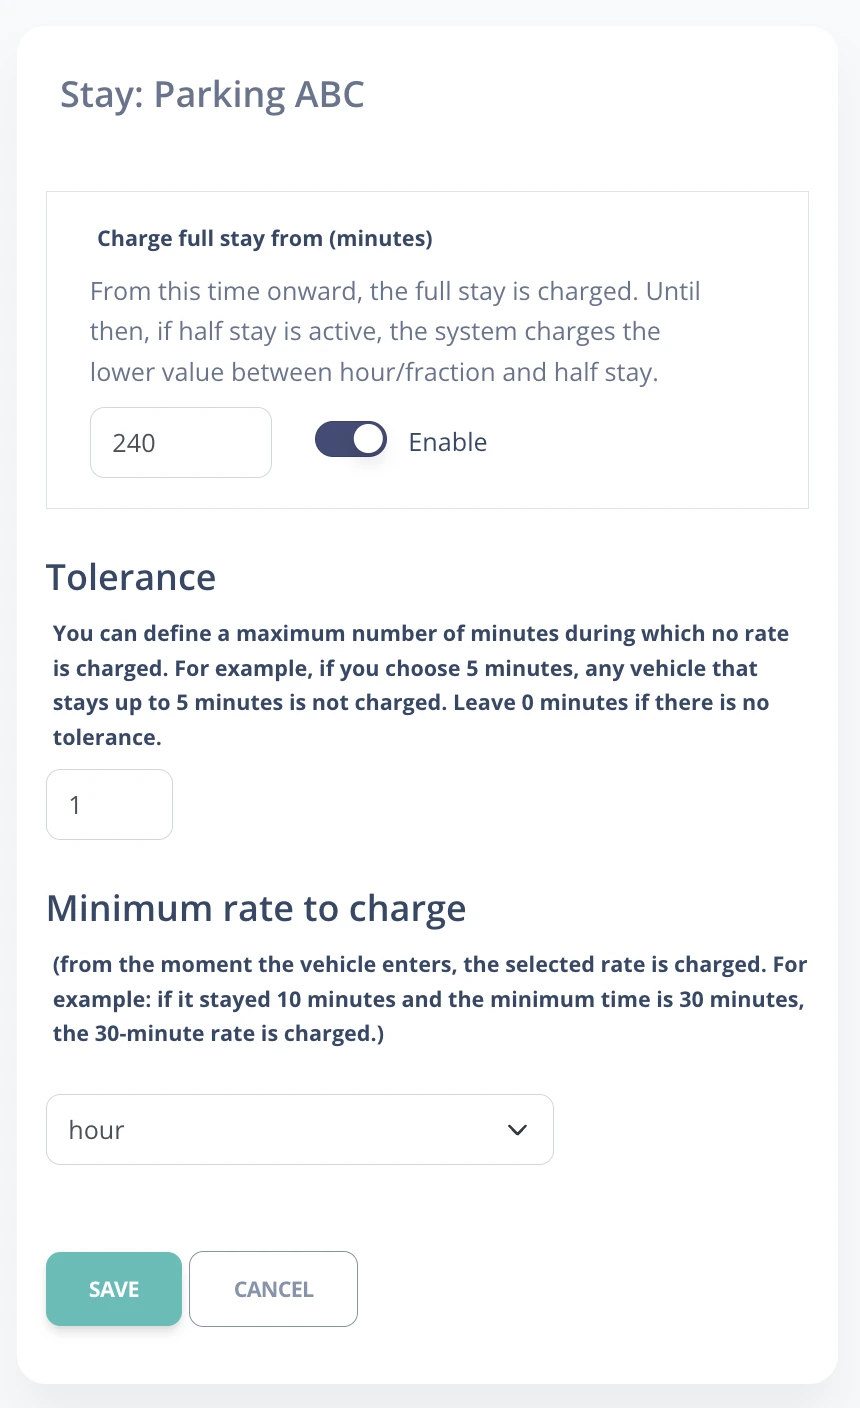
- Enable/disable half-day stay: Defines whether half-day stay applies and its rate. The system automatically charges by hour and fraction until it reaches the half-day amount. After that time, the stay rate applies up to 24 hours.
- Minimum rate: Defines the minimum rate for any vehicle.
B.4. Users
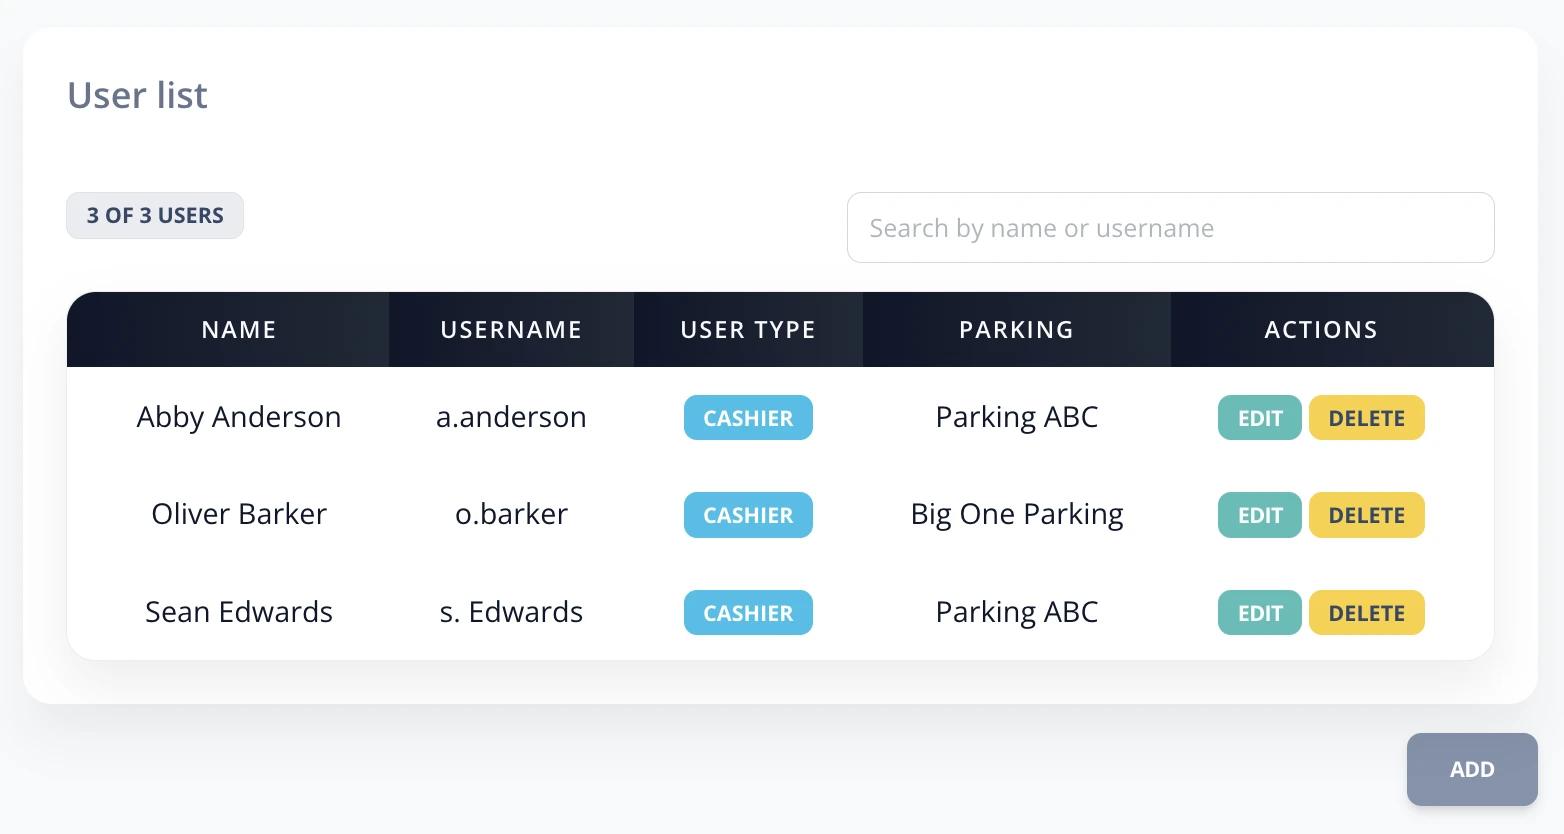
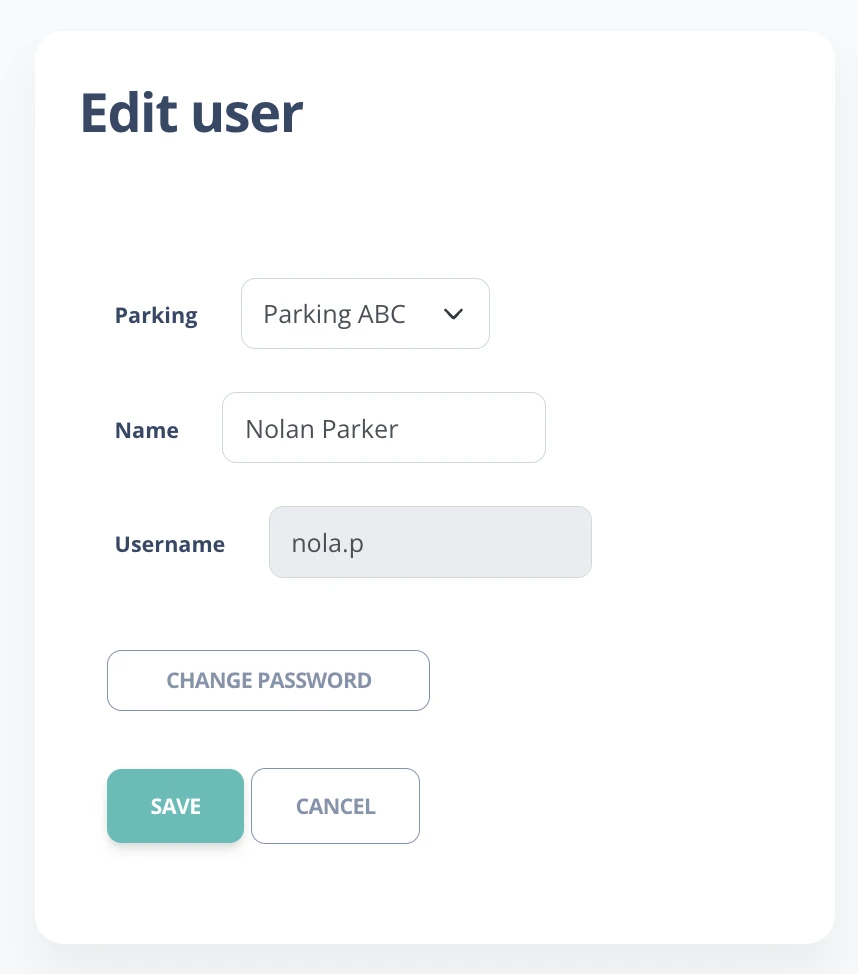
From the Userssection, the administrator can add, modify, or delete cashier users.
- Edit cashier data: change the name, assign the user to another garage, or change the password.
B.5. Monthly customers
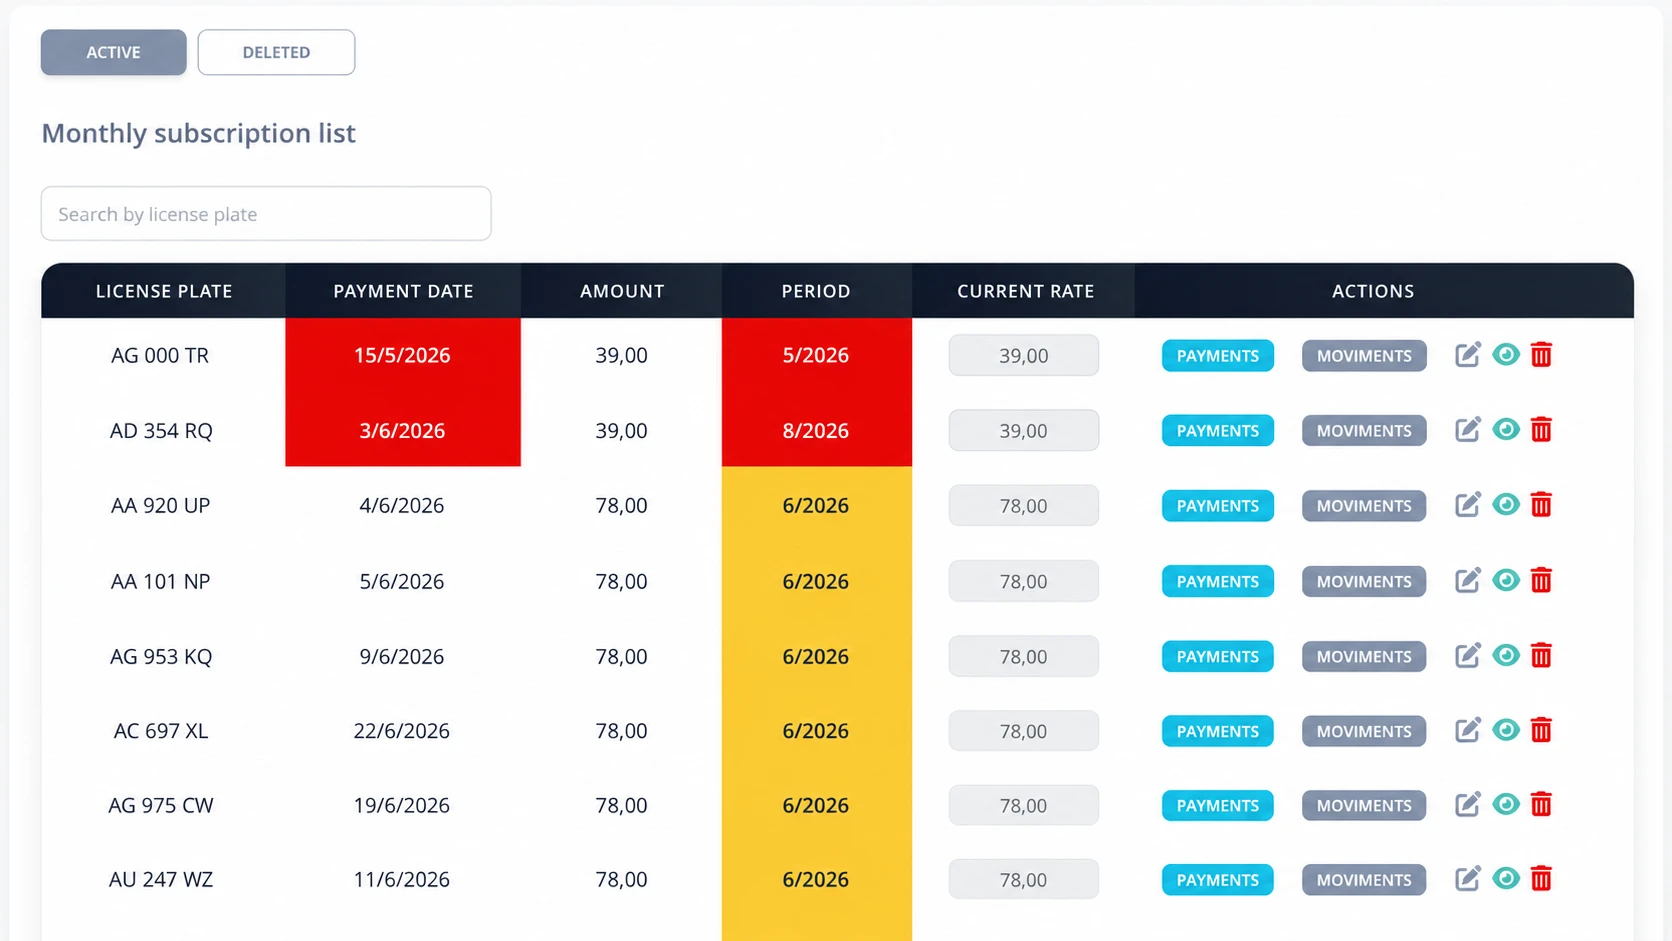
List of customers with active monthly plans:
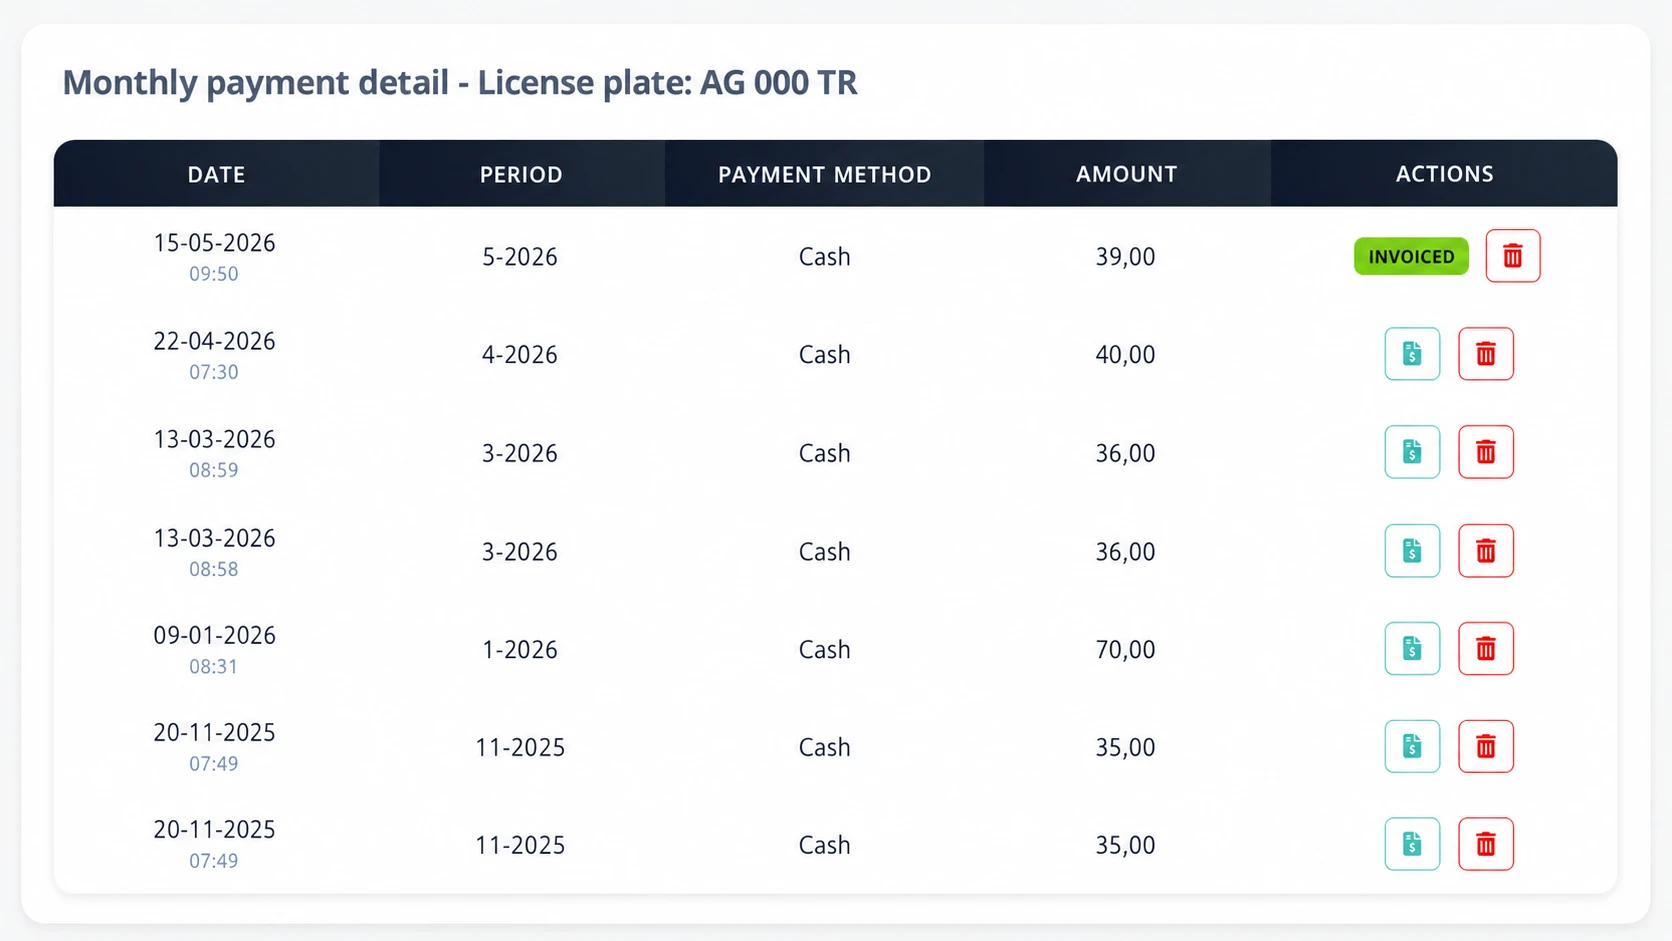
- View customers: license plate, date and amount of the last payment, paid period, and current monthly rate.
- Payment history: shows dates, amounts, and payment methods.
- Void payment: voids a specific payment for a monthly customer. That payment is offset with an expense movement.
- Modify the rate individually: rates can be set per license plate.
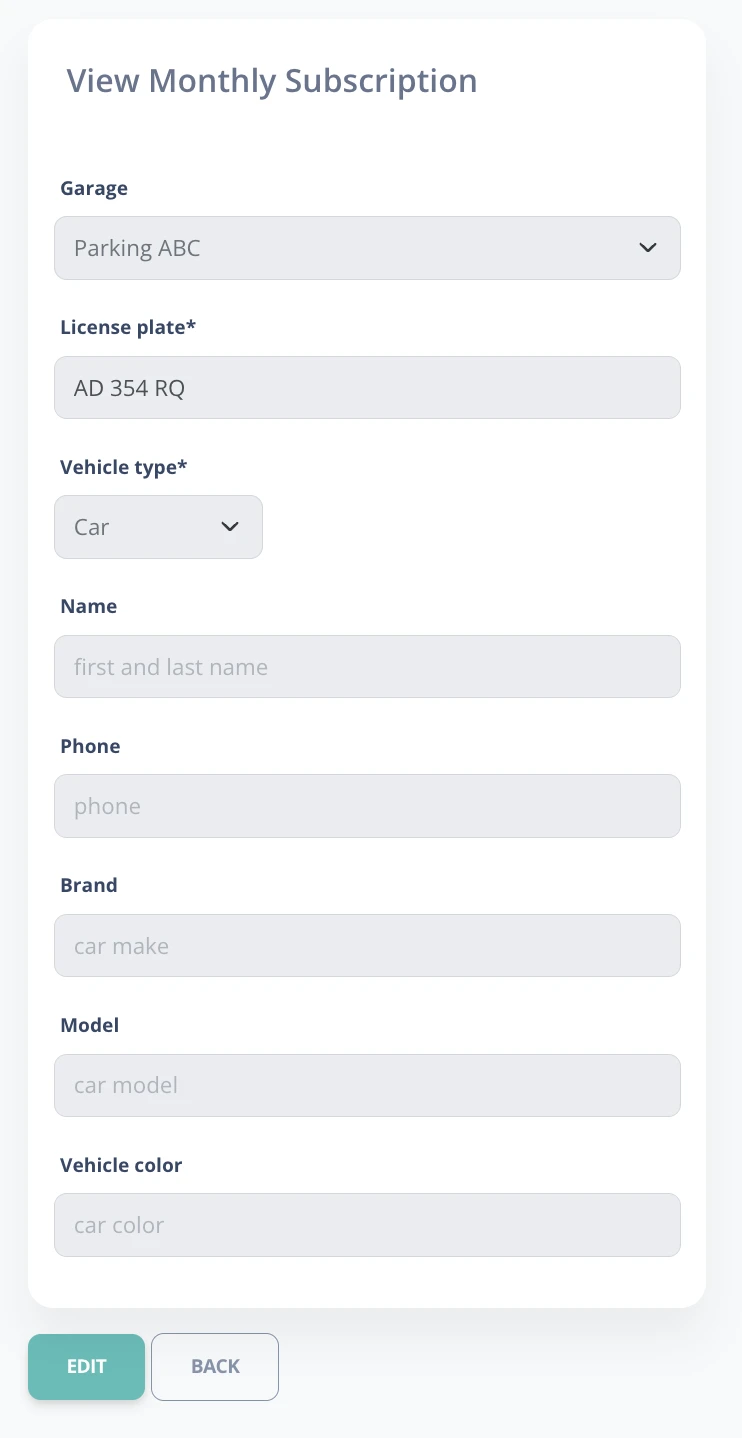
- View or delete customers: review or modify customer data.
- Visual alerts: red (overdue), yellow (overdue but still within the payment grace period), turquoise (overdue with partial payments).
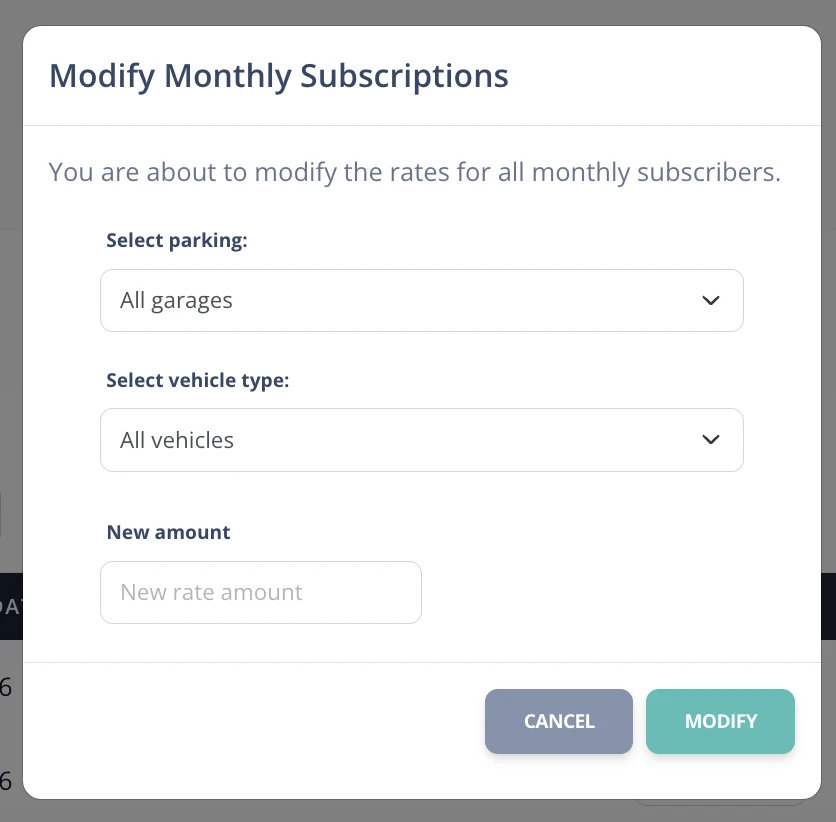
- Generic rate editing: all rates can be edited at once, selecting by vehicle type and parking location.

B.6. Payment methods
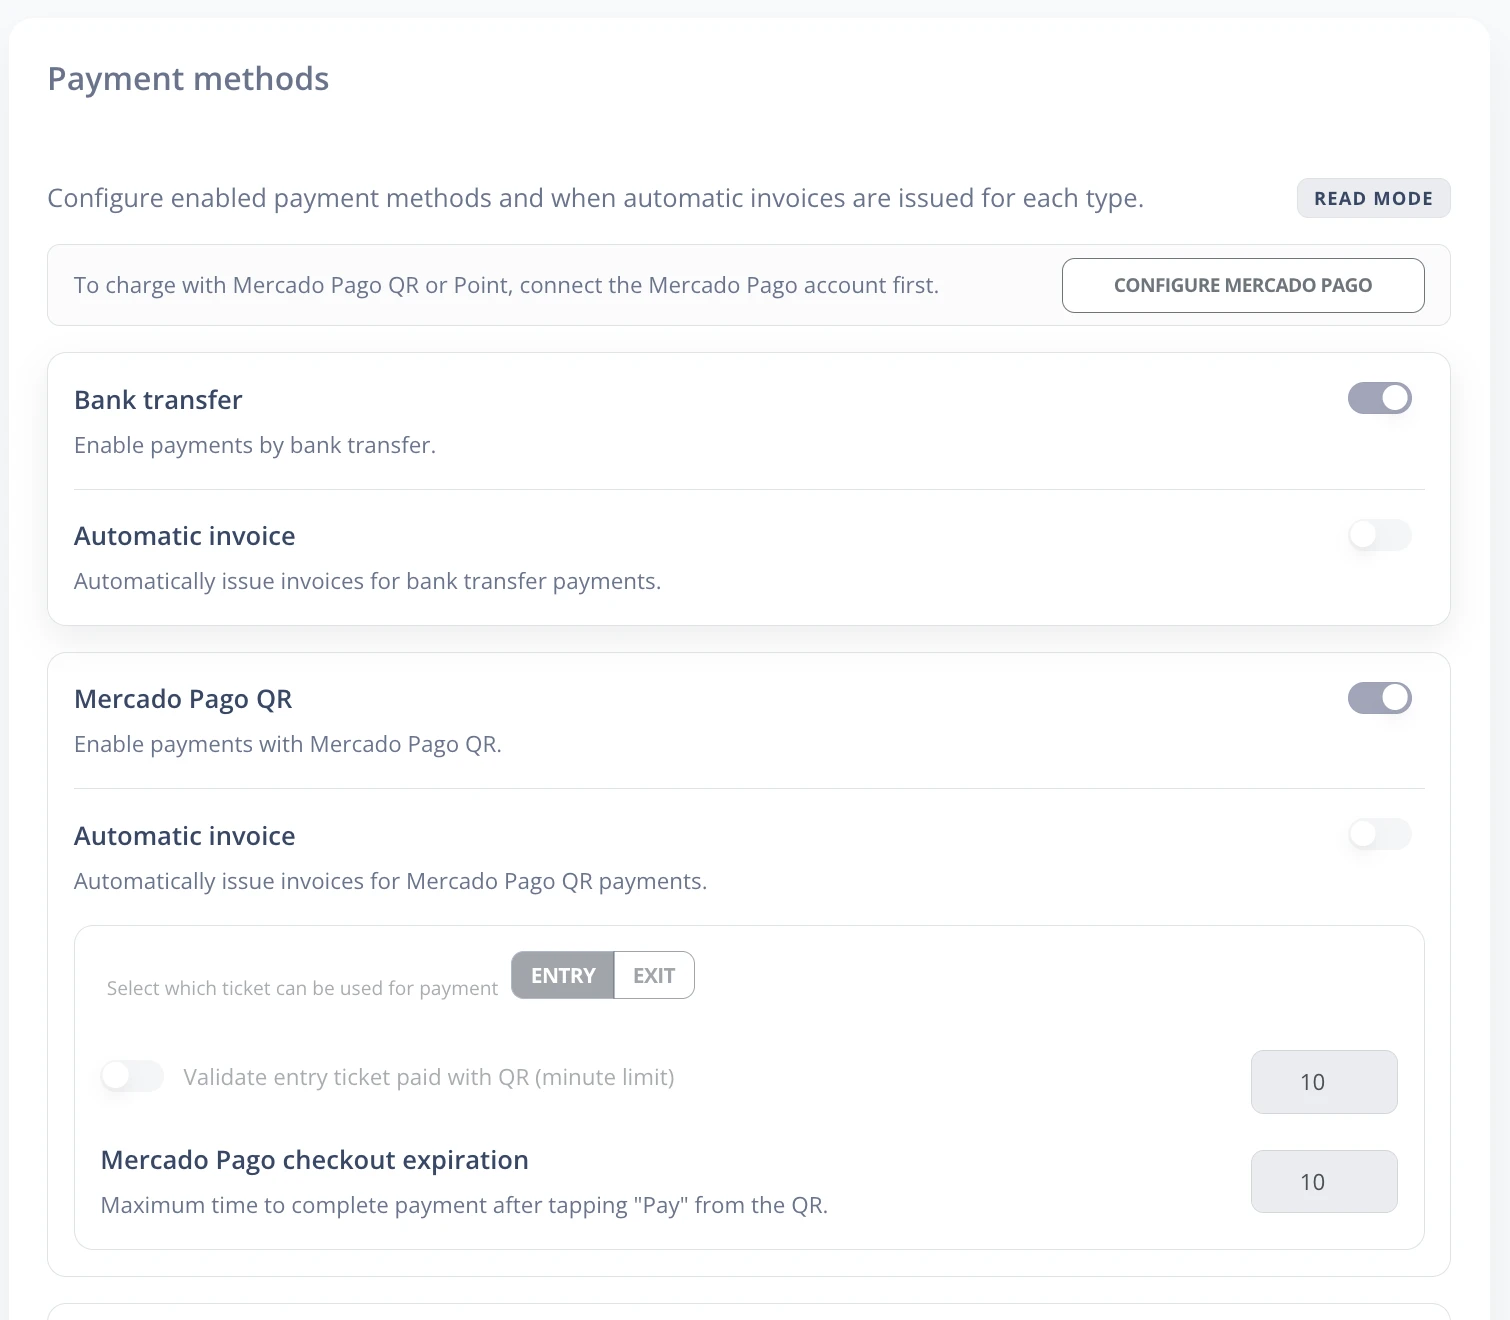
In this section you can configure payment methods, allowing charges by bank transfer and Mercado Pago:
- Bank transfer: Payments are deducted from the day's cash register, leaving only cash available at closing.
- Mercado Pago: Users can scan the QR code on the entry ticket to pay online. Charges are deducted from the day's cash register.
- Validate QR-paid ticket: If payment was made online with Mercado Pago, the customer must show the paid ticket for validation.
- Minute limit for validation: The customer has a limited time to validate the ticket paid with Mercado Pago. After that time, they must pay the difference.
B.7. Stay discounts
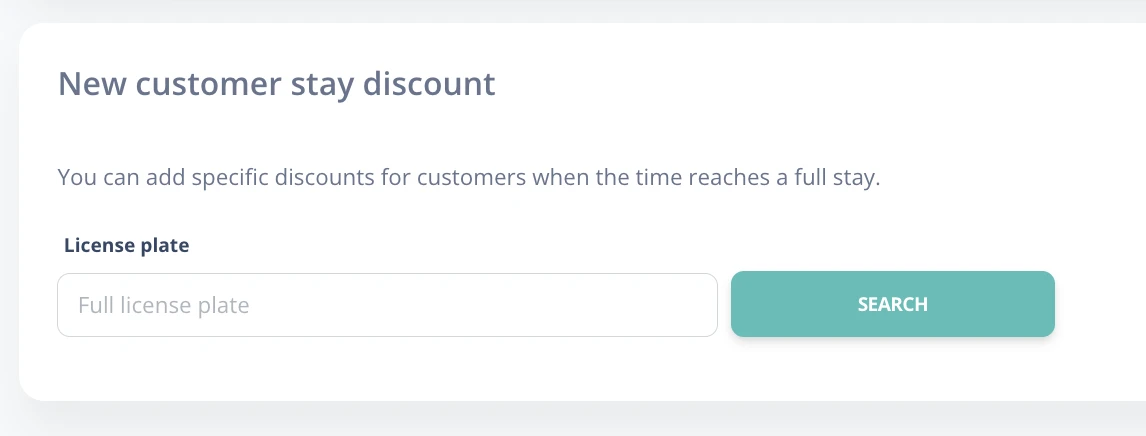
Here you can add customers with special discounts for stays. This option is useful for frequent customers who do not have a monthly plan but often leave their vehicle in the parking lot for a long time:
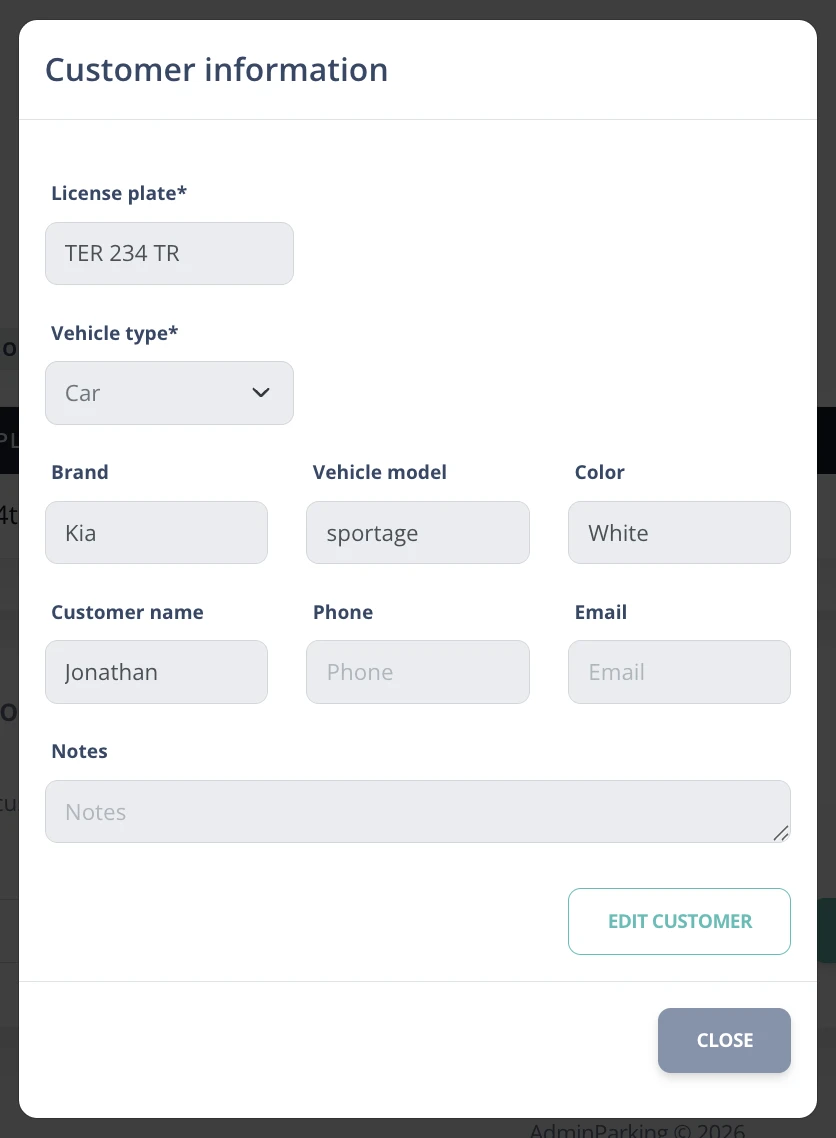
- Add customer: Search for the license plate in the database. If it does not exist, add it and assign a discount.
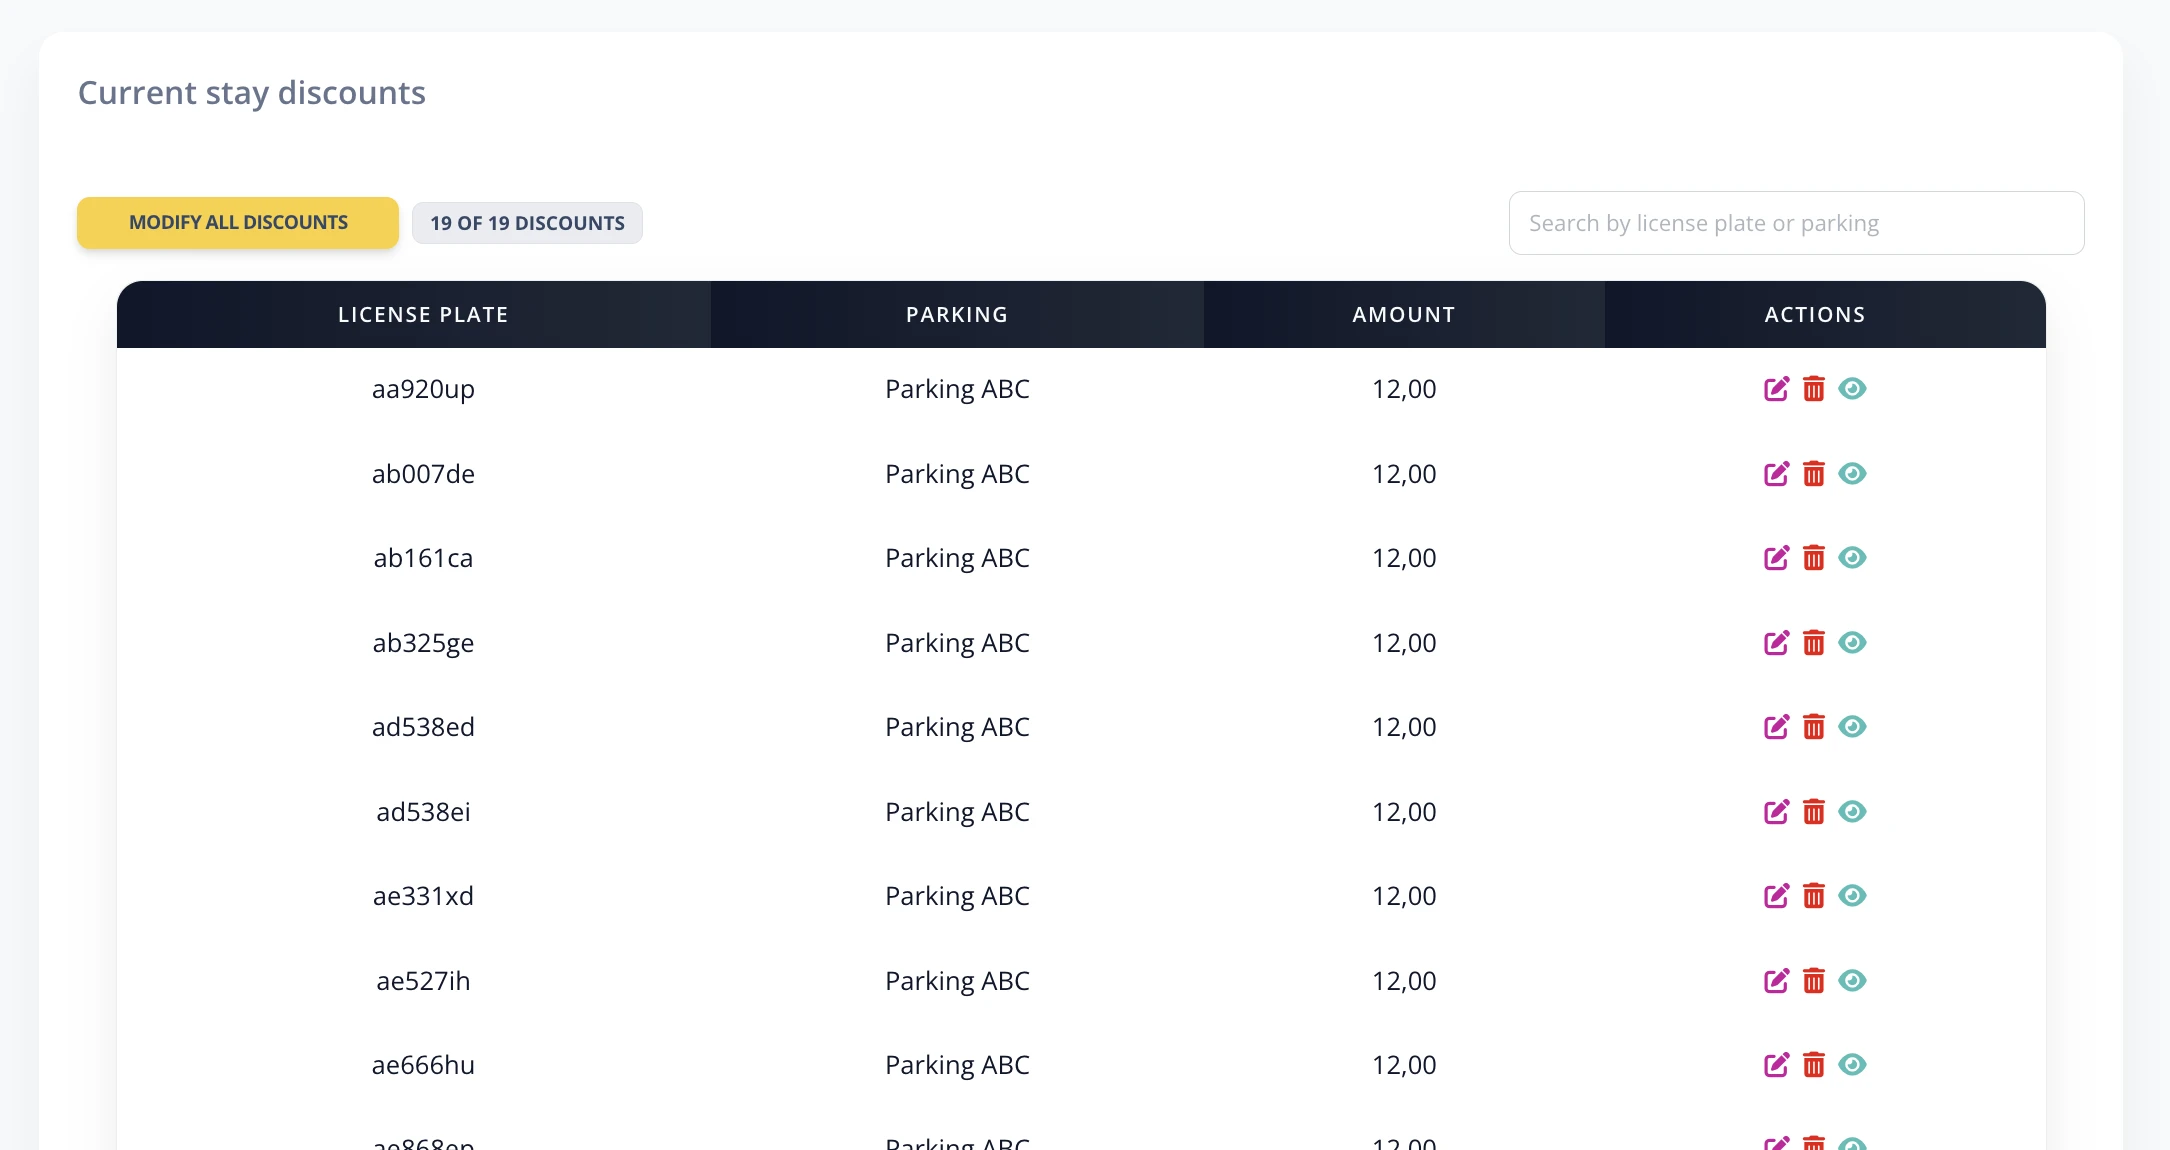
- Discount list: View customers and their respective discounts.
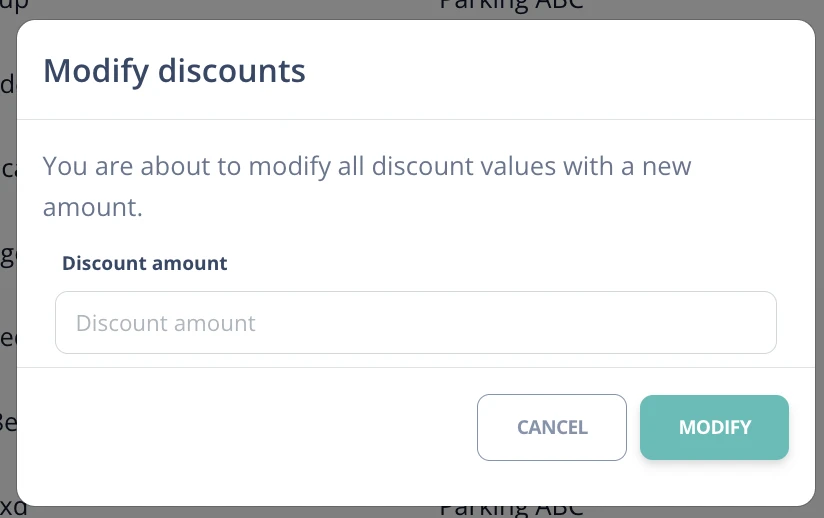
- Edit or modify discounts: Change discounts individually or in bulk using the "Modify all discounts" button.

B.8. Ticket printing
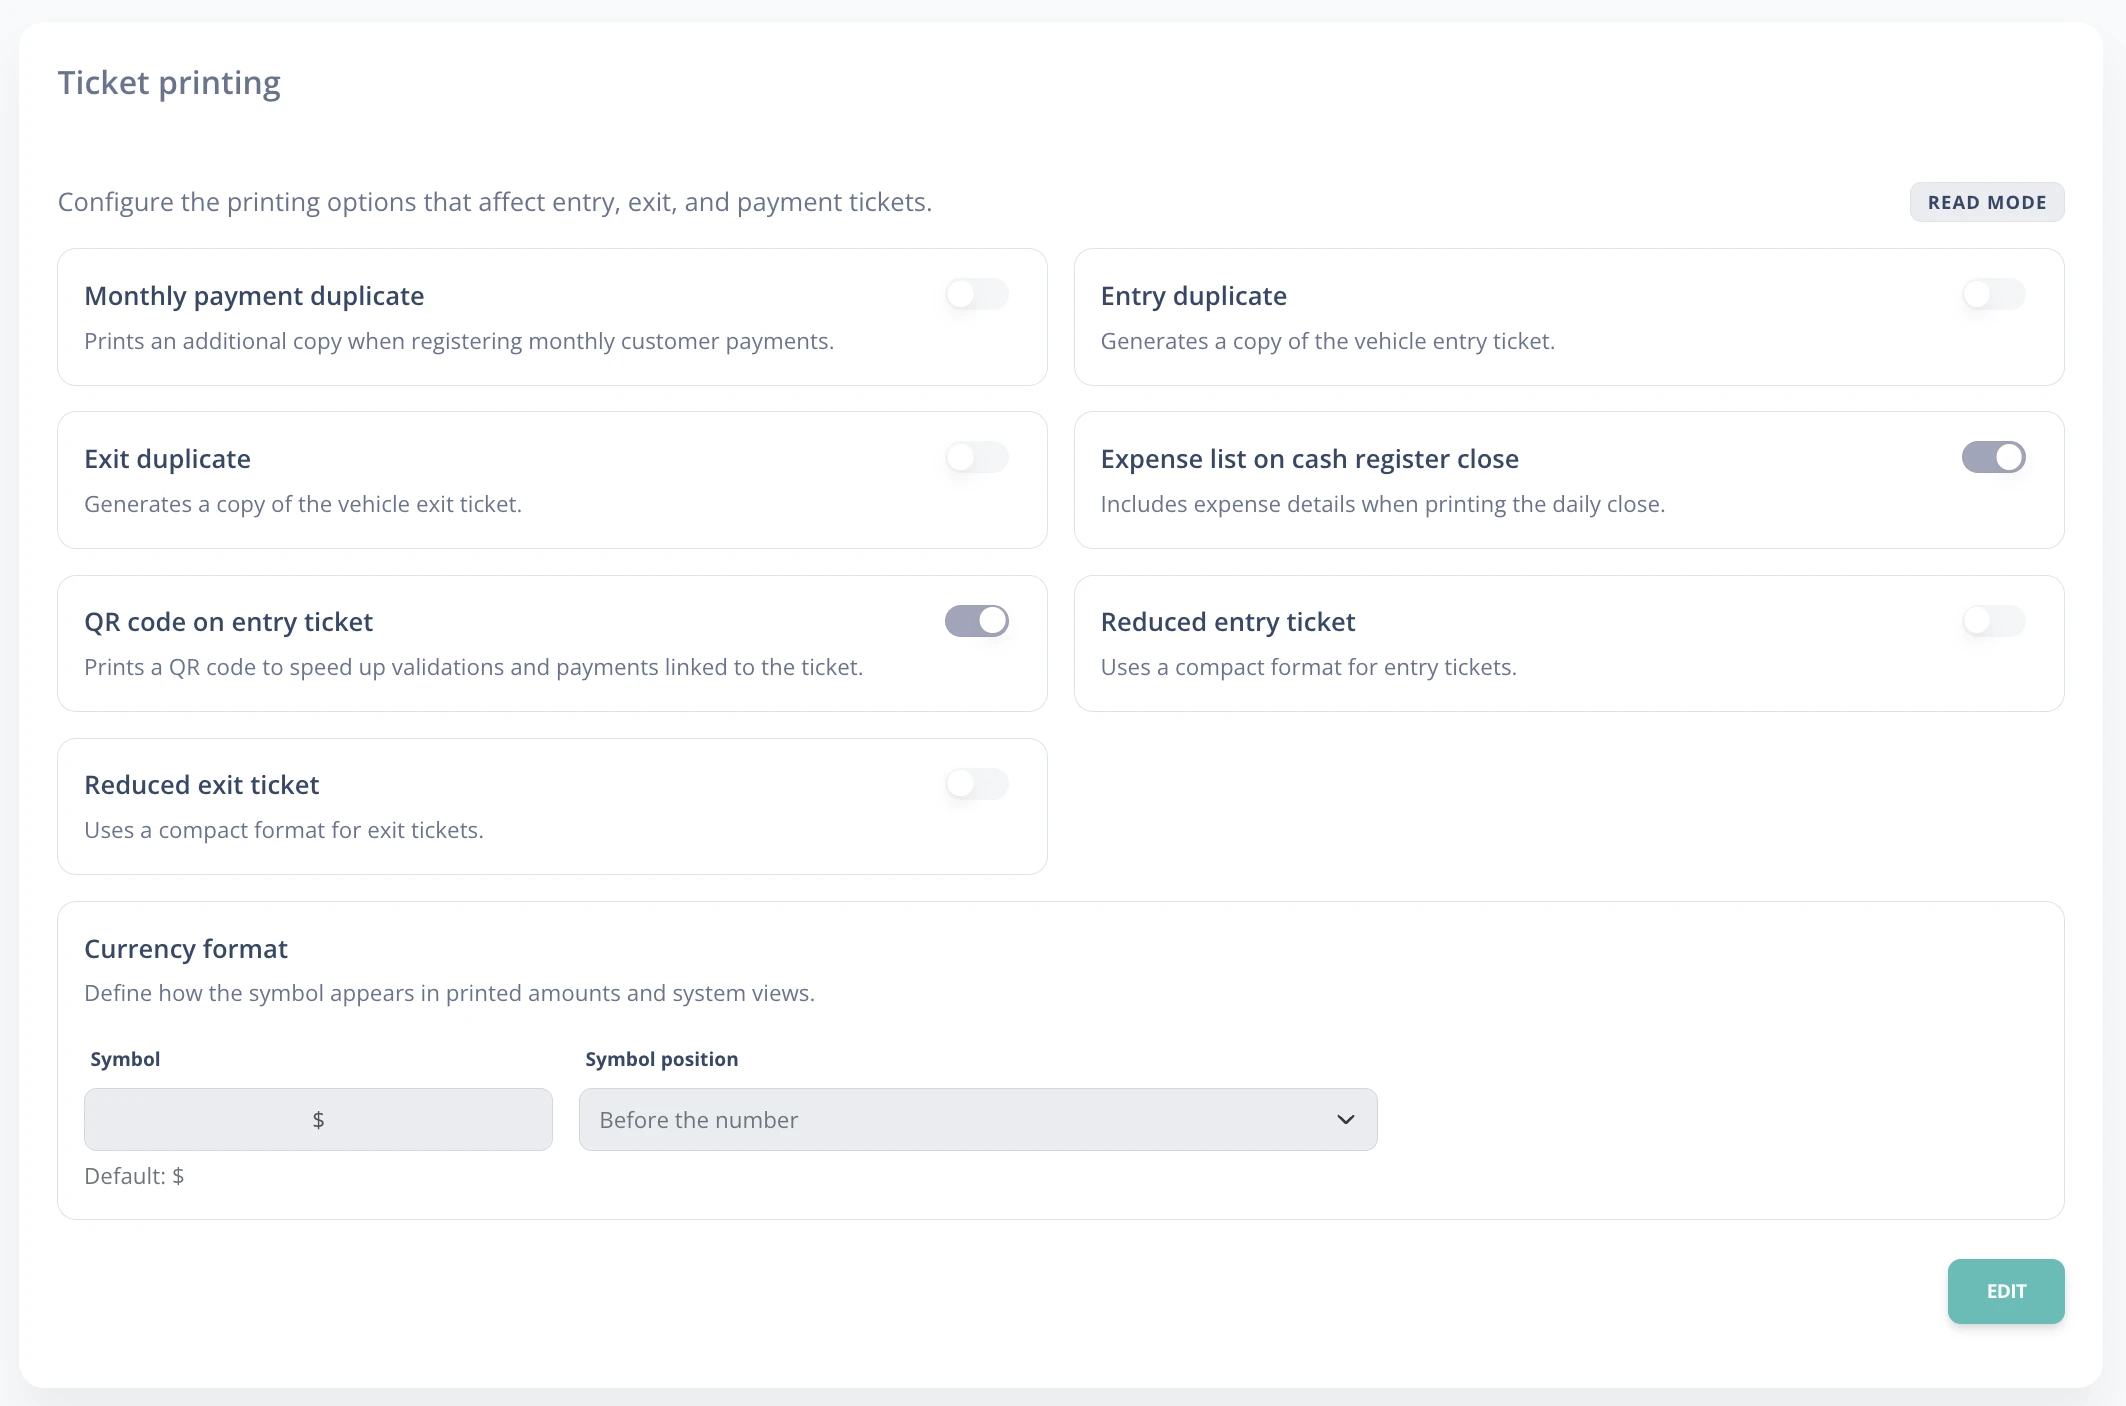
Configure ticket printing options according to the parking lot's needs:
- Print duplicate monthly payment receipts for internal control.
- Print a duplicate on vehicle entry, useful when customers leave keys or for valet parking.
- Detailed expense list at cash register closing.
- Print QR code on the entry ticket:
- The cashier can scan it to check out the vehicle and generate the exit ticket.
- The customer can use it to see how much they currently owe.
- The customer can use it to pay with Mercado Pago.
- It can also be used to locate the parking lot on Google Maps, view closing hours, or contact via WhatsApp.
B.10. Mercado Pago
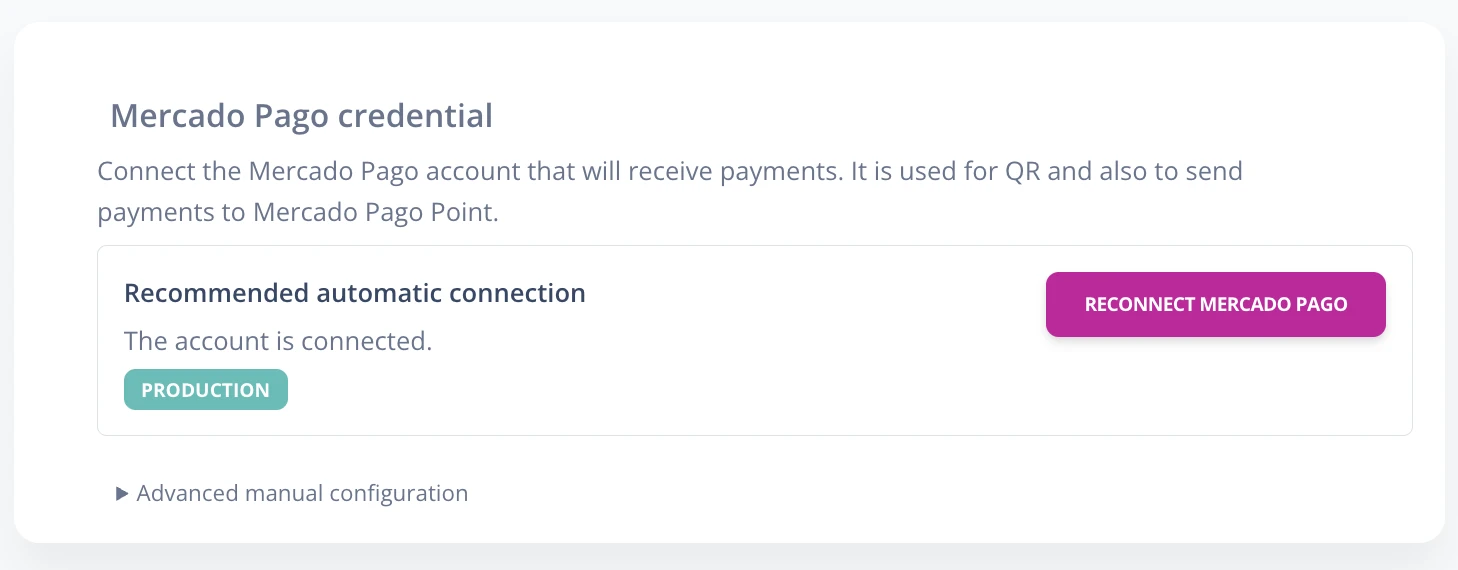
Enable automatic payments through Mercado Pago using the Access Token.
2. Go to Your business > Settings > Management and administration > Credentials.
3. Select production credentials and copy the Access Token to enter it in settings.
B.11. Car wash
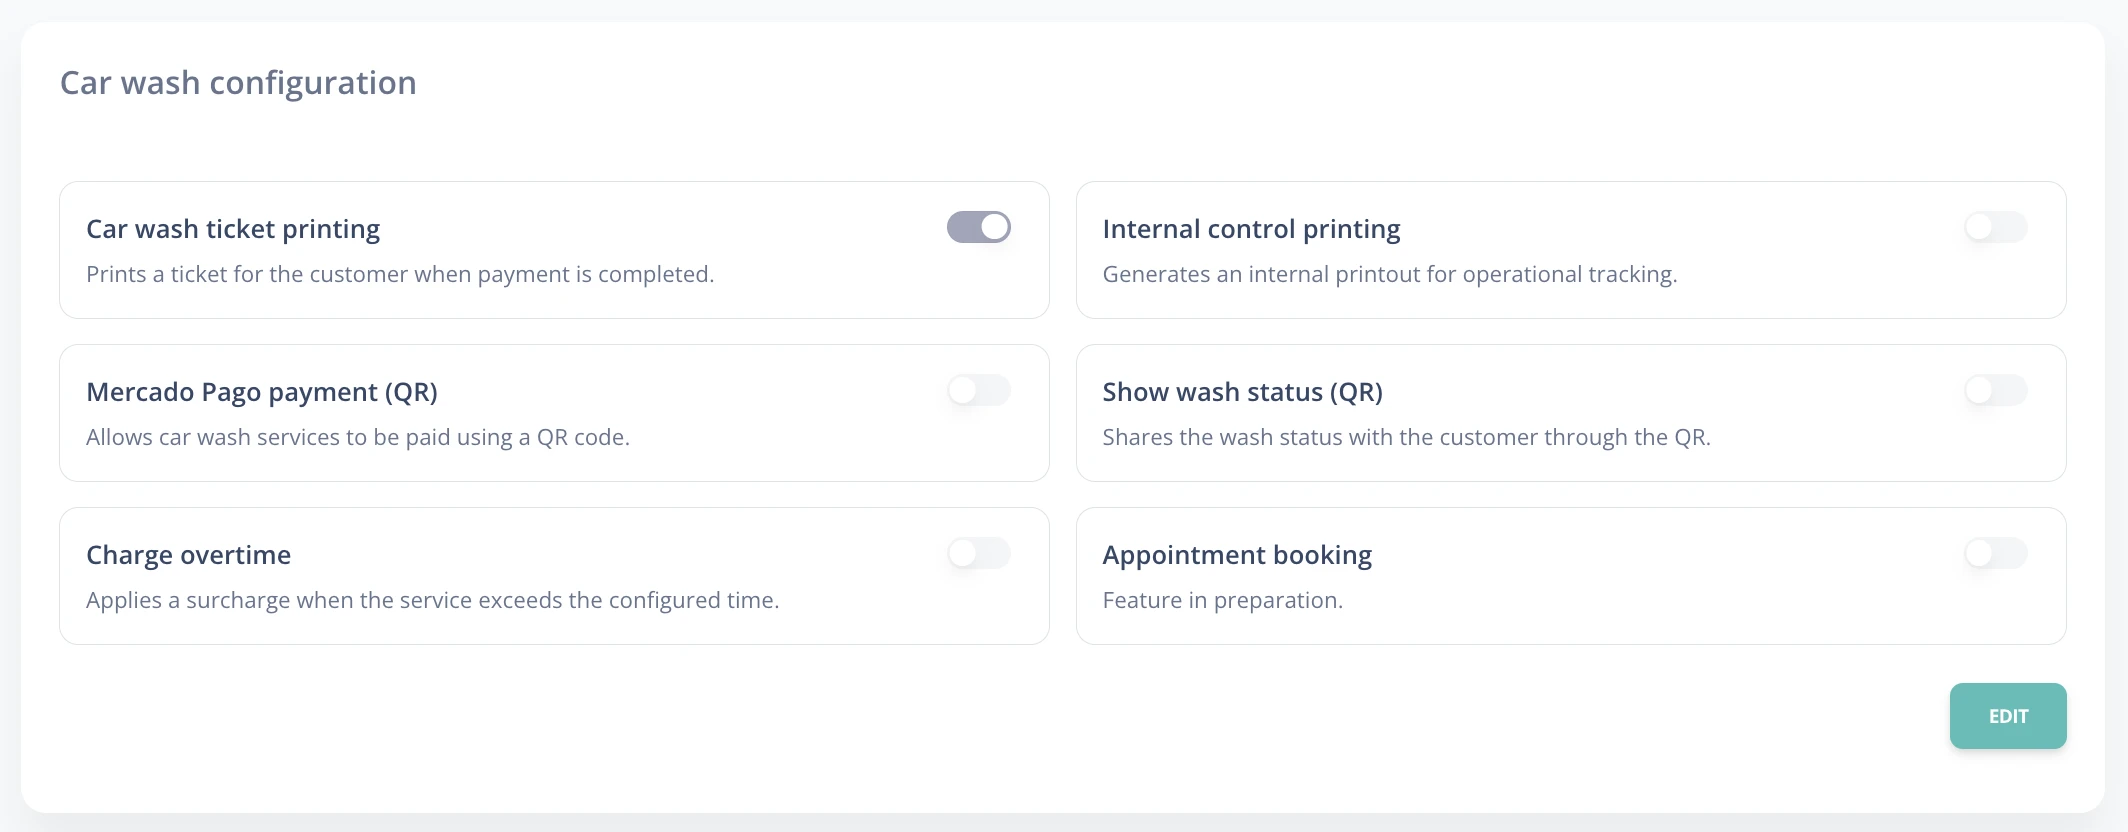
Configure the car wash module options:
-
Basic setup:
- Car wash ticket printing: Prints a receipt with the entry, services, and amount due.
- Internal control printing: Prints a ticket for internal car wash use, useful for service tracking.
- Allow Mercado Pago payment: Customers can pay by scanning the QR code.
- Show wash status (with the QR code): The customer can view the wash status (waiting, washing, completed) through the QR.
-
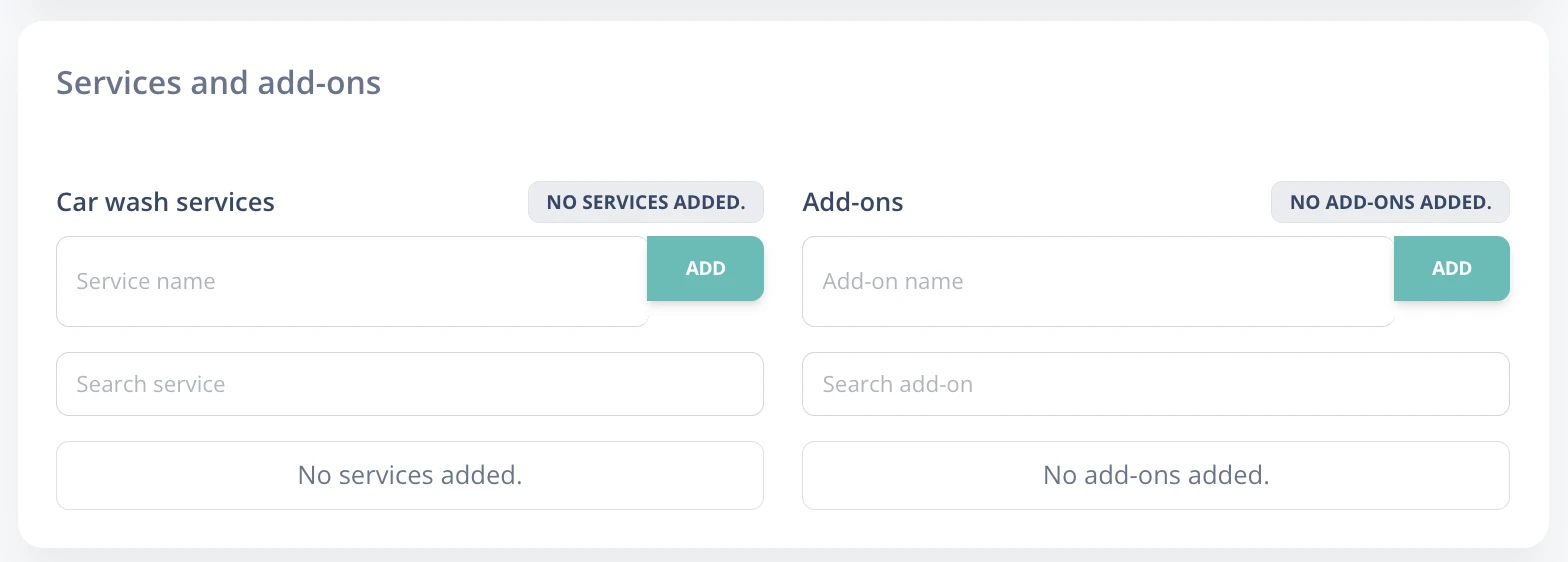
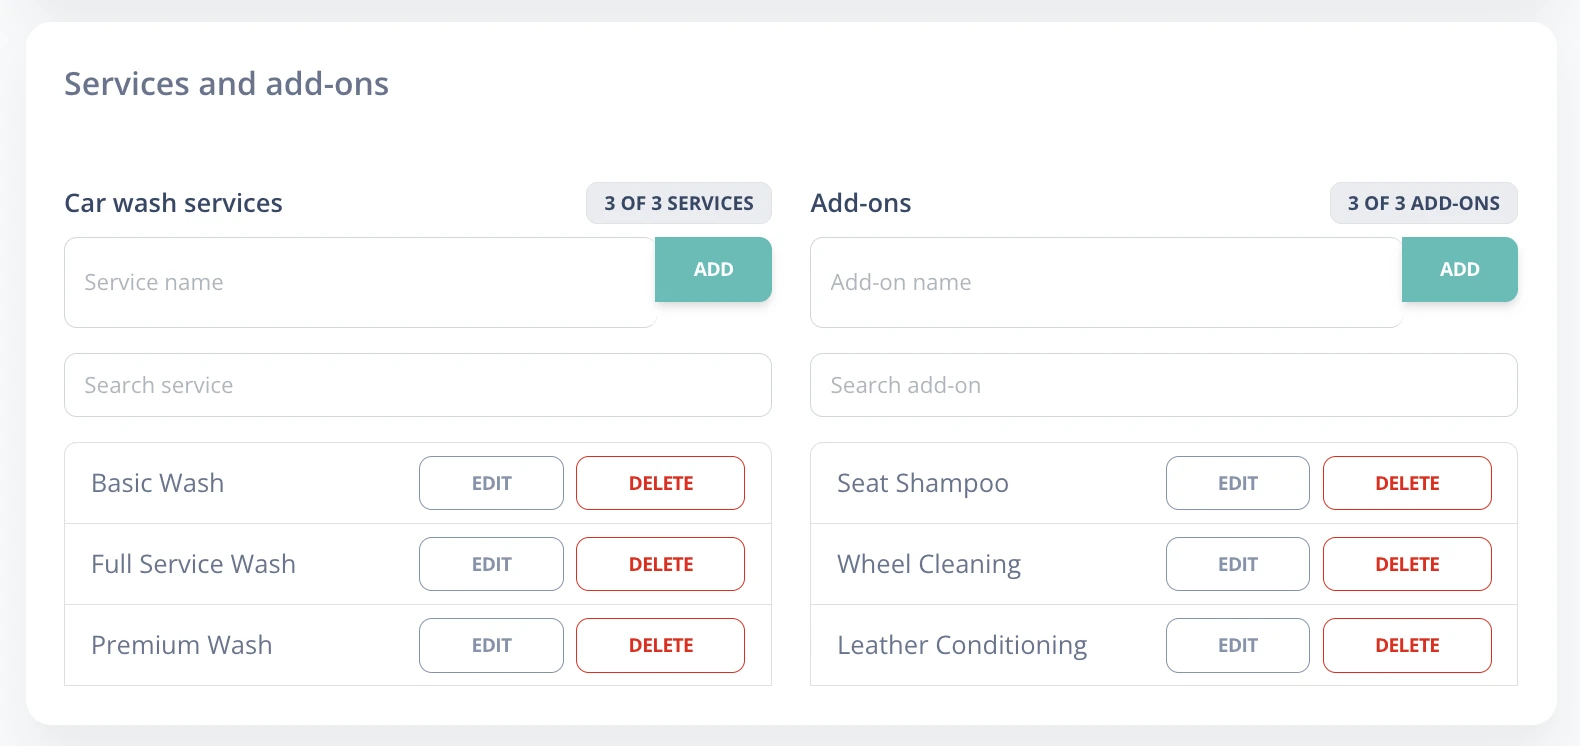
Service and add-on list:
- Add the service names and offered add-ons. At least one service must be loaded to activate the module. These services can be edited or deleted as needed.
B.12. Car wash rates
Set the rates for services and add-ons by vehicle type.